Monday, June 11, 2012

needs of animals unit materials


Clear targets of learning outcomes from the Alberta Science Program of Study and our main unit project can be found here.


"Les adaptations" word strips (printable)


We first used this vocabulary during journal writing, even before the science unit had started.  Students had written "Qui suis-je" sentences about one another describing one another's clothing and physical characteristics.  The class had to guess who the student was describing.


Our next step was to write "Qui suis-je" clues about animals.  Once again students would share their clues with the class and we would guess the animal.

By the time we were ready for our unit about animal needs and adaptations students were familiar with the vocabulary of animal adaptations.


Gives a quick overview of examples of adaptations of a camel.


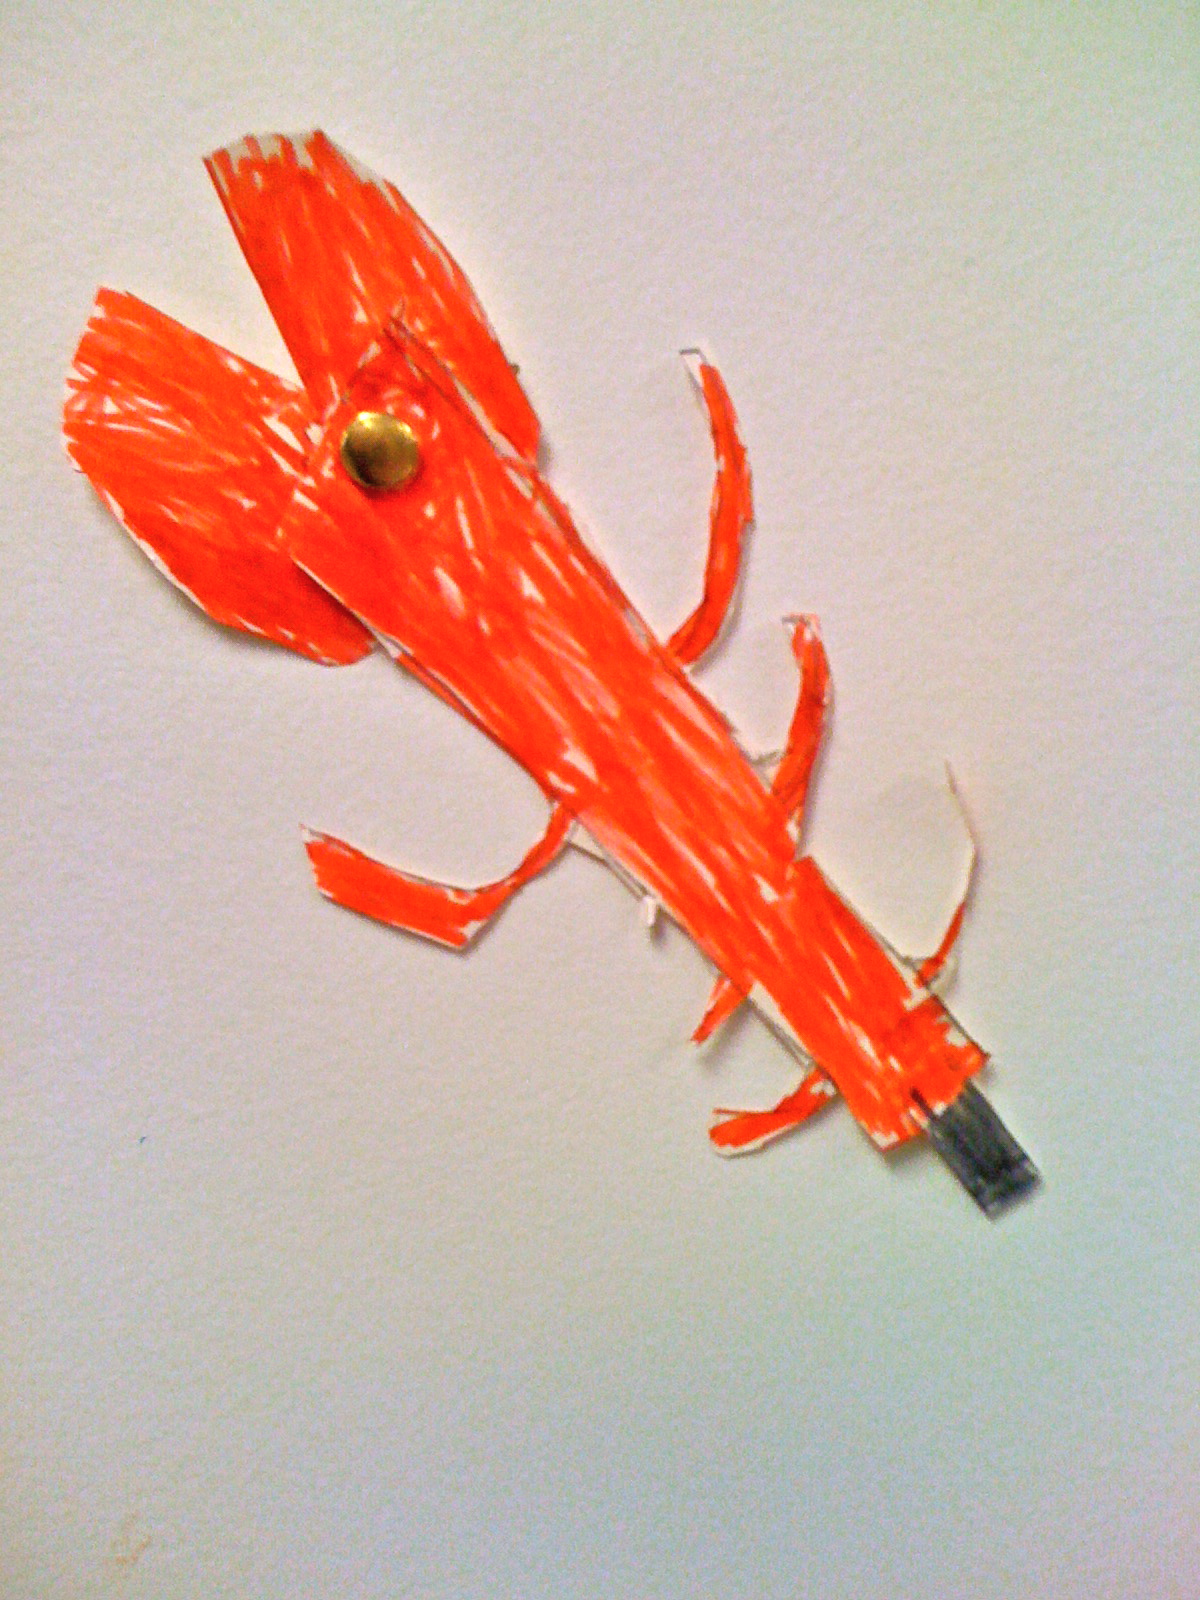
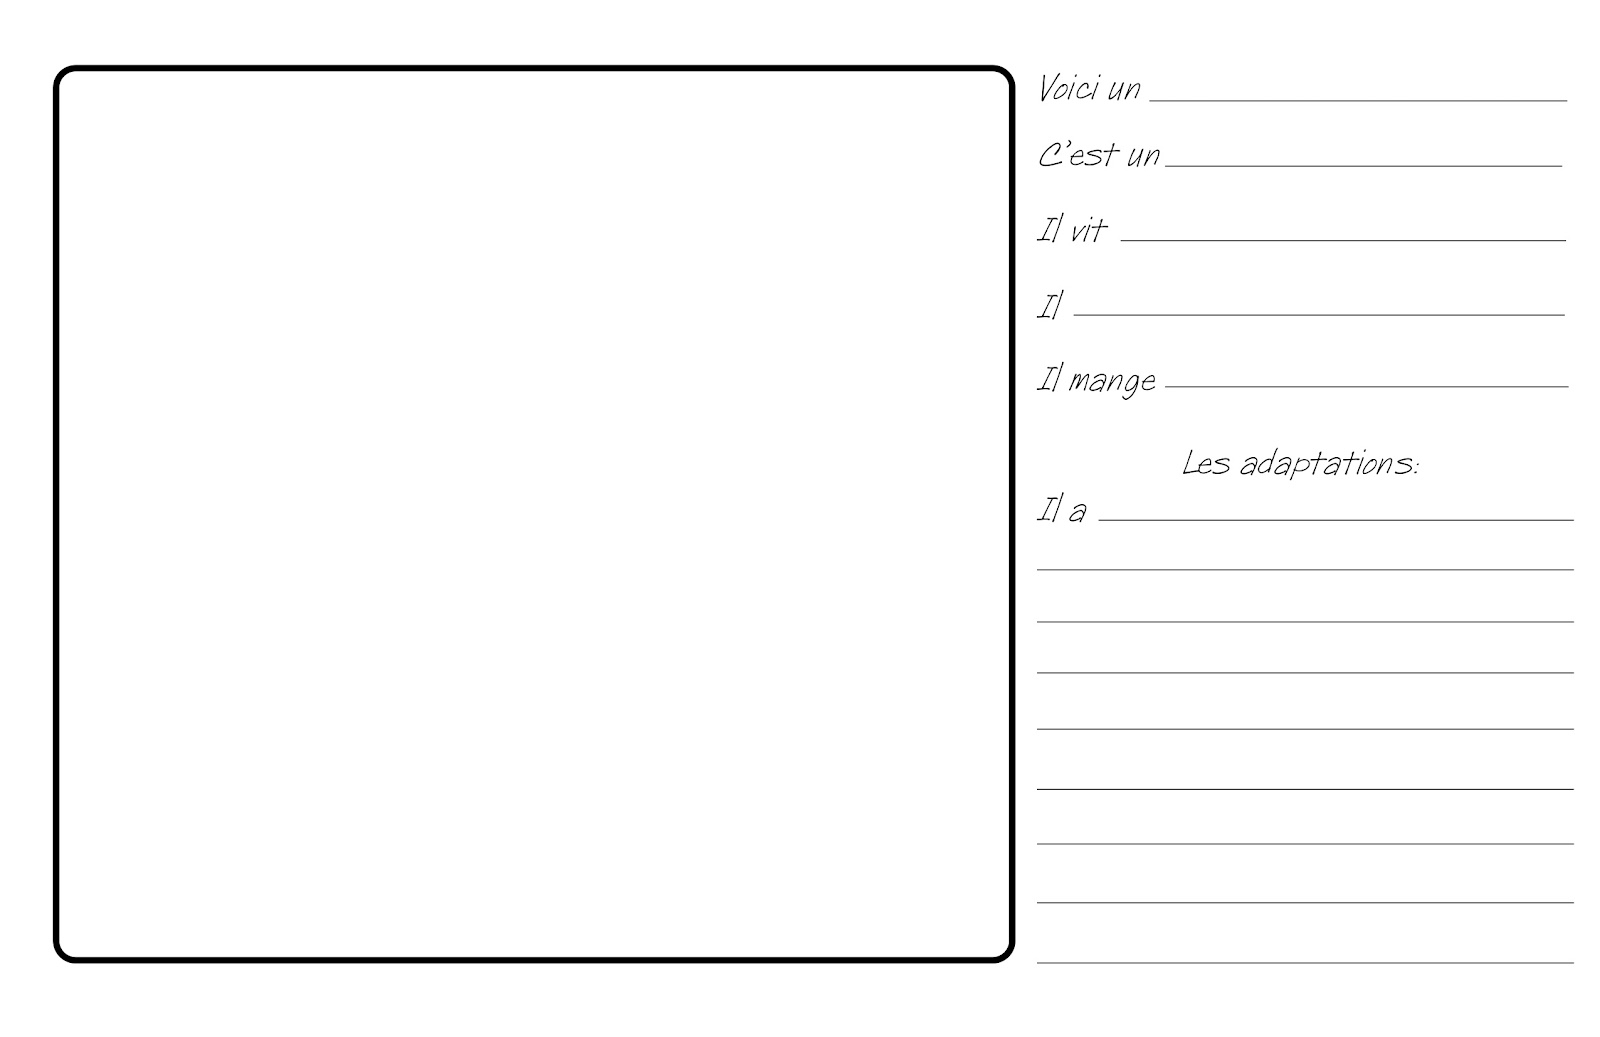
Students invent an animal (draw, paint, build with clay, create on Show Me App) and use this template and sentence prompts (if needed) to describe the creature and it's adaptations.  Students can be challenged with a problem their creature needs to solve ie, it must be a pollinator, a creature that will control a pest problem (mosquitoes?) etc.

If you are economizing on copies this template may be better (2 per sheet).  It can also accompany multimedia animals that may not be 2D.


This document is purposefully similar to the timeline project students completed earlier in the year.  The template is another familiar way students can record their learning.


Caméléon méli-mélo Le
Léon le caméléon de Mélanie Watt - Léon n'est pas un caméléon comme les autres : il ne peut pas se camoufler. Dès qu'il se tient sur quelque chose, il devient de la couleur opposée.

Le caméléon méli-mélo de Eric Carle - La vie du caméléon n'est pas très passionnante jusqu'au jour où il découvre qu'il peut non seulement changer de couleur, mais aussi de taille et de forme.


After reading the mixed-up chameleon grade 1 student in the English program invented these animals.  The FI students had learned about animal adaptations and had used this vocabulary to write "who Am I" statements in their journals.  They were familiar with this vocabulary and could use it to describe the adaptations of their invented animals.

Project NoahProject Noah is a web tool and iPad app to explore and document wildlife and a platform to harness the power of citizen scientists everywhere.  Your class can track and earn badges as they post spottings of local animals.  Students can log into the account and add any animal they find, very easy to start up and maintain for the duration of a unit of learning.  Beware, students will want to continue to track local wildlife with this tool long after your unit of study is complete.  English only, perhaps home/school learning tool?

Eric Carle's story "The Mixed Up Chameleon" (English).  


needs of animals research project continued

Here are the supplies you will need for each student.


I prefer this paper to construction paper.  It's easier to fold and is just lovely.  

I haven't made these with an entire class of students. Could the supplies be sent home with this link for students to make with their parents, then the blank template returned?  I am daring and would do this step by step with my class in May or June.  Every cut can be folded first so it's easy to follow.  I'm not a fan of teachers spending valuable time doing this much prep.

Let me know how you make out with this part.


Colour #1

If you cut according to the instructions you will end up with all the right bits.  Have shallow trays or containers for students to keep their bits in on their desk or you will have an organizational nightmare on your hands.


Colour #2
- fold in half hotdog, cut
- fold both sides in 3s 
- keep one folded
- fold and cut the other as shown

Colour #3
- fold in half hotdog (vertically)
- fold in half hamburger (horizontally)
- fold bottom half into 4s
- trace a small glass or can for circles


Here is how to fold and cut your white sheets.  These are for the flip book of needs or lifecycle.


This is for the inside cover flip book (animal classifying).  

Finally these strips are for the titles and big question.

And here's how it all comes together!


We changed this to true or false statements written by students with the answers on the back.  This added an interactive part to the project.

I don't teach grade 2 and haven't checked all of the learning outcomes for this unit for grade 2.  My son is in grade 2 so he did this while we were on holidays and he missed some of the unit his class was doing.

See the previous post to see completed projects.  Wondering how I wrote on the photos above?  Head on over to Pic Font - it's free, very easy to use and makes 'ya look oh so clever.

needs of animals research project

A very basic characteristic of the inquiry process and project based learning is that students use a variety of ways to represent their learning. How do you teach them the "ways" first?  Grade 1 French Immersion students need so much scaffolding!  This project is one way that students can demonstrate their learning.  Once students use a strategy at least once, they can add it to their bank of "projects".  By the end of the year students will have a repertoire of many ways they can show their learning.

There are several digital apps that my student are familiar with, this post will cover a hard copy project.

This research project is inspired by the foldables and lapbook ideas I see on pinterest.  I think that by having young students generate small manageable pieces of information, rather than a lined page of writing, the work is more manageable, broken into smaller steps, and easier to share and display with one another.  Legend and explanation of clear targets can be found here.

Here are the clear targets listed in "I can" statements for this unit of study taken from the Alberta Program of Study for Science.  In retrospect I should also include the targets for other subject areas that this project will address.  This sheet goes in an envelope on the back of the project/folder to be consulted during the project and once it is complete.

This an important communication piece for parents and self-evaluative piece for students.  It clearly shows them what is being studied and what the expectations are.  Students can identify where they are at in their learning.

I have left space to jot in which project or lesson addressed each outcome and space for teacher or student notes.  This single project won't address every outcome.

As a planning tool I plot out on this sheet how many weeks each outcome or project might take to investigate - it's the beginning of a long range plan.


Here is a completed project geared for grade 2 targeting the learning outcomes associated with the science curriculum "small crawling and flying animals".  The students choose their own animal after a whole group study of the general characteristics of insects.

The first task is to draw your critter and label as many parts as possible.  Students have had previous experience with the "project" I call "bits and pieces", you can read the post about that here.


Inside, students answer their own questions about habitat, diet, and predators.  Along the top students generate a "big" question.  This is something the students really wants to tknow about the subject.  In this case the student had indicated that this would be a manual for people who were worried about scorpions and wanted to know where they might hide and if they would sting.


 Once they got the hang of it students liked the true and false section best.  This is where the work could really be differentiated and students could show what they know.  This part adds an interactive aspect to the project.

The small circle flip book is where students answer their "big"question.


Stood up and opened the projects are like mini science fair projects with artifacts displayed in front.  The true false cards are left out on the table and students and parents can try to put them in the right envelope (students wrote the answer on the back with any further explanations).


This is a template meant for grade 1.  The format is the same but the pieces reflect the grade 1 outcomes associated with the needs of animals.


For grade 1 the students also generate a "big" question that is along the top of the folder.

The flip book on this page is for classifying animals based on visible characteristics such as adaptations for survival; la fourrure, les écailles, les plumes, les griffes.  In the example I made I put standard classification groups but the Program of Studies asks students to classify based on the criteria I just mentioned.

Students can find images of their own animals to sort (magazines), draw them or use the collection I have included (coming soon).  My collection includes insectes and amphibians so students may have to be selective about what they will include in their project and decide if some creatures don't fit any of their 4 categories, whatever they may be.


For the grade 2 template students used the 2 envelopes to make up true and false questions about their critter.  For grade 1 students classify a collection of creatures as domestic or wild (an outcome in the program of studies).

The flip book on this page for grade 2 is used to show the life cycle of the insect (or other small crawling and flying animal).  For grade 1 students use this space to identify the basic needs of the animal, where do they live, what do they eat, how do they breathe.

Be sure to go to the next post for step-by-step instructions to help you and your students begin your research.


Students decide how they'll sort or classify their animal collection.  Here are a few ideas or headings they may use, either in a folder as above, a flipable, or a booklet.


 A few ways we classified animals.  I found it best to stick to the learning outcome suggestion that students sort by visible characteristics.


Some students wanted to sort their animals as mammal, reptile and so on in a booklet.  These photos are my moc-ups.  I always try out the project first to see what students might need.  Students also added their own drawn animals, animals they found in magazines, pictures their friends had drawn, their pets.  I forgot to photograph the student booklets.


 We wrote some characteristics of each group of animal together as you can see on the mammal heading with the rabbit on it.


Sunday, June 10, 2012

blogger hints and tips

I have spent some time recently tweaking the layout and readability of this blog.  I am mostly inspired by Gail at That Artist Woman.  I have also learned some fabulous tips at the site Blogger-Hints-and-Tips.  I can't believe I edited HTML and it worked!  Thanks to both of those sources for contributing to my blogging design education.

I'm still in the process of linking the tabs listed along the top navigation bar to content on the blog.  I have also learned how to turn PDFs into JPEGs so that thumbnails of documents look crisp and professional.

What kind of blog format do you find easiest to navigate?

Sunday, May 13, 2012

fabriquer des objets


A clever teacher once suggested to me that the building things unit should take place in June.  It's engaging and fun so the students are legitimately occupied with "work" that they love, get lost in, and enjoy during the last month of school.


I send home 1 large ziploc bag with each student with their name on it.  They bring it back to school with materials they want to use as well as any extras they are willing to share with the class.  This way everyone has a variety of materials to sort and build with.


Aviva, a blogger, is very good at having her students solve real world problems as she teaches the learning outcomes.  Have a look at the challenge she gave her students here.


Clear targets for building things unit from grade 1 Alberta Science Program of Study.  I print off one for every student, keep notes as we go and send the sheet home to be signed by parents during and after the unit.  Students refer to the targets to track their learning.  I use this sheet to plan lessons and projects, attempting to investigate every outcome thoroughly.


Legend and explanation of clear targets can be found here.


You will be linked to the page then click the download tab, it's a larger file and may take a minute or two.  If you don't have access just request, it's free, we check daily.


These are the word strips of vocabulary I thought we might encounter as students collected building materials.


Students described and sorted their materials in many ways by asking, is it strong, bendable, does it stack, roll, is it a fastener, is it made of wood, plastic, metal?


Here are some of the projects we made in grade 1.


Edmonton Public Resource for Grade 1 science topics French and English (order link)
 (http://rds.epsb.net/cf/series.cfm?nSubjectID=7)


- simple
- performance or task based
- several project options for each outcome
- the vocab, task, materials, student response sheets are well laid out
- assessment manual also available

The general site:


NOTE:  The only project I sent home was the car.  There was a specific request for parents to step back from "helping" too much.  We raced our cars and so having wheels that roll was key.   There are times when parent input is great and gets the students excited about their project.  Otherwise, these projects were to be 100% student generated!

This unit followed the Needs of Plants and Animals.  We already had a collection of domestic animals in the class on display.  The first task was to build a home for one of the domestic animals we had in the classroom (plastic to scale).  The home had criteria, it had to have a door that could lock, have an area for food, sleep and exercise.  It also had to be big enough to fit the animal the students chose, they used the plastic models to be sure.

- booklet of clear targets and collection of all student building projects
- response sheets from Edmonton Public resource were used
- criteria sheets for tasks include teacher and student evaluation
- each project was displayed on long tables as a "town" and photographed 
- booklet goes home for parents to sign and comment
- final student self-assessment is included
- digital collection of projects would be a next step, wiki or class blog


ANIMAL MODEL
- polystyrene mammal
- must stand on its own (notch and stand technique taught)
- must with stand small gust of air (blowing)


PUPPETS

- insect or bird puppet with moving parts
- list materials and describe steps

                                                
For students who want to get fancier there are some beautiful examples on this blog.
    

TOYS

skeleton images for inspiration (PDF on projector)

- pipe-cleaner reptile
- compared to actual skeletons of animals for inspiration
- studied toys with joints (barbies, GI Joe figures)
- recorded materials, steps, possible improvements
- staples item right to the booklet
- photo journal showed progression of sophistication of student projects


- houses out of manilla tag, popsicle sticks, marshmallows
- incorporate with fairy tales unit and 3 little pigs


We watched a short youtube video of a cabin being built of logs and an igloo.  The log cabin one is a bit long and slow - maybe there's something better out there.  They are both in English:


The vocabulary we focused on was first the words for all of our building supplies and then for the parts of a house, walls, roof, stairs, windows, doors, hinges, and so on.  Will find and post . . . 

As you can see on this sheet this was our first attempt at comparaison, not an easy writing task for my grade 1s.  Students had a photo of their house and of someone else's in the class to compare.

The resource I have suggested using popsicle sticks or stir sticks or pretzels for building our log houses.  I would stick to popsicle sticks, the other 2 were tiny and harder to glue.  These inspiration ideas may help spur students on.  

Little popsicle stick doll housePopsicle stick creations
Little popsicle stick craft box


PINWHEELS

pinwheels (printable)

The Edmonton Public resource I used has some very simple building ideas.  They include a pinwheel, pop-up cards, simple boats.  Here are some pinwheels that we thought were a little more fun.  This was an entry task one day for during announcements, nothin' fancy but the students looooooved them.  


Give your project a purpose, Sept. 21st is pinwheels for peace day, see the link for ideas.